From first phone to live calls in four steps.
No proprietary chassis and no rebuild when you grow. Here's exactly what happens.
- Step 01
Create your account
Open a GSMCalls workspace, add your team and choose roles.
- Workspace on its own subdomain
- Invite admins, operators and viewers
- Set currency and time zone
- Step 02
Install your gateway
Connect phones with the method that suits each site: Smart Bridge phones run the GSMCalls app and need no PC; USB and Wireless use a gateway computer.
- USB Connect, Wireless Connect or Smart Bridge
- The app or gateway pairs to your workspace with a one-time code
- Phones appear in Devices within seconds
- USB ConnectPowered USB hub and audio cabling to a gateway PC.wired
- Wireless ConnectBluetooth adapters on a mini PC. No audio cables.bluetooth
- Smart BridgeA microcontroller on each phone’s USB-C; the GSMCalls app streams HD audio to the cloud. No PC.bridge · app
- Step 03
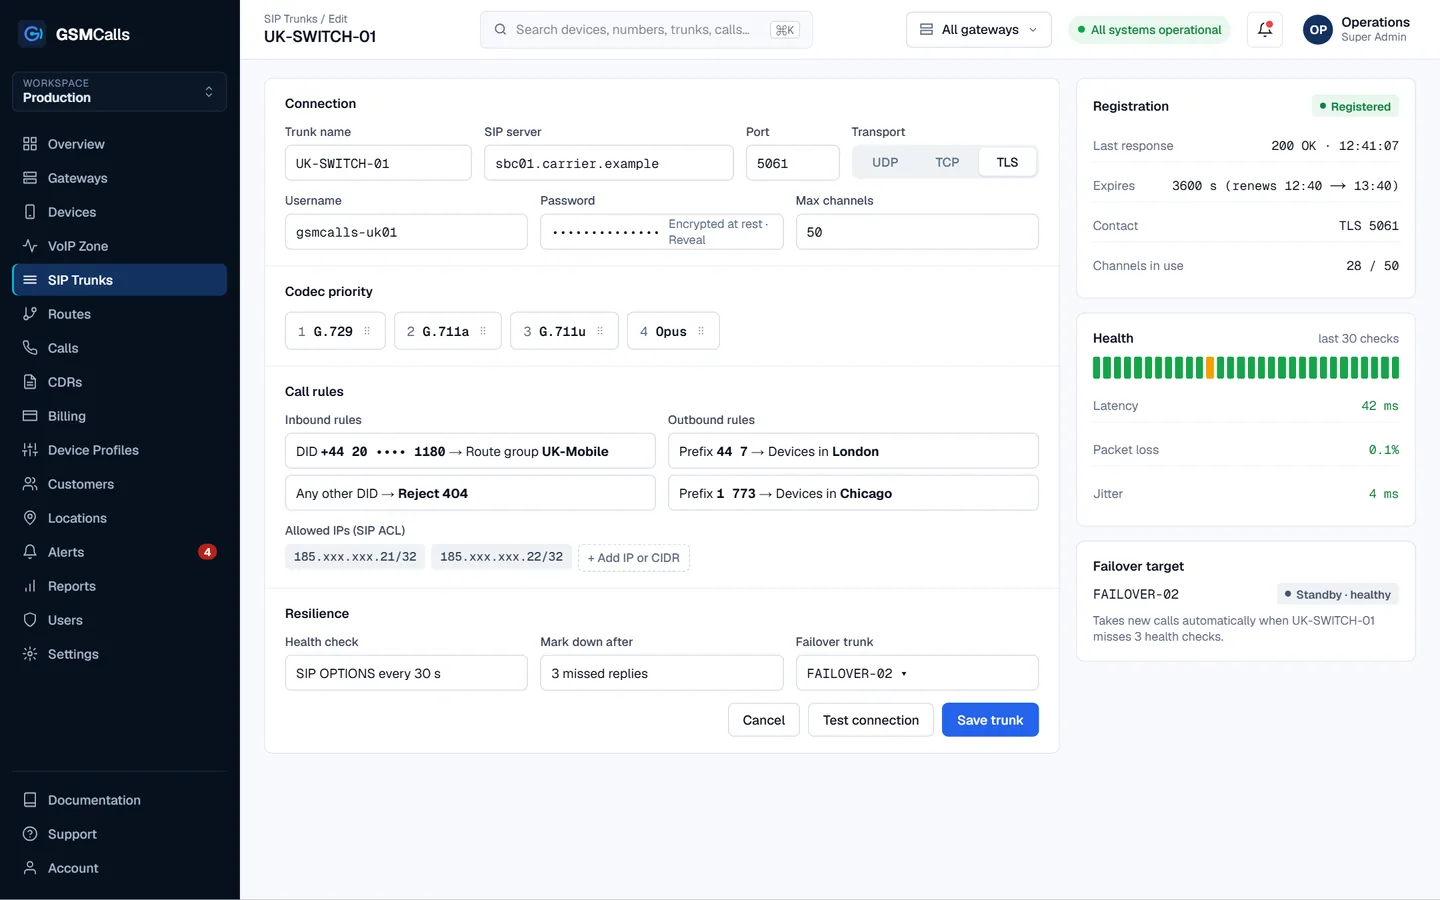
Connect SIP
Add your PBX, SBC, softswitch or SIP trunk, then route prefixes and DIDs to locations.
- UDP, TCP or TLS
- IP allow-lists and codec priority
- Health checks with automatic failover
- Step 04
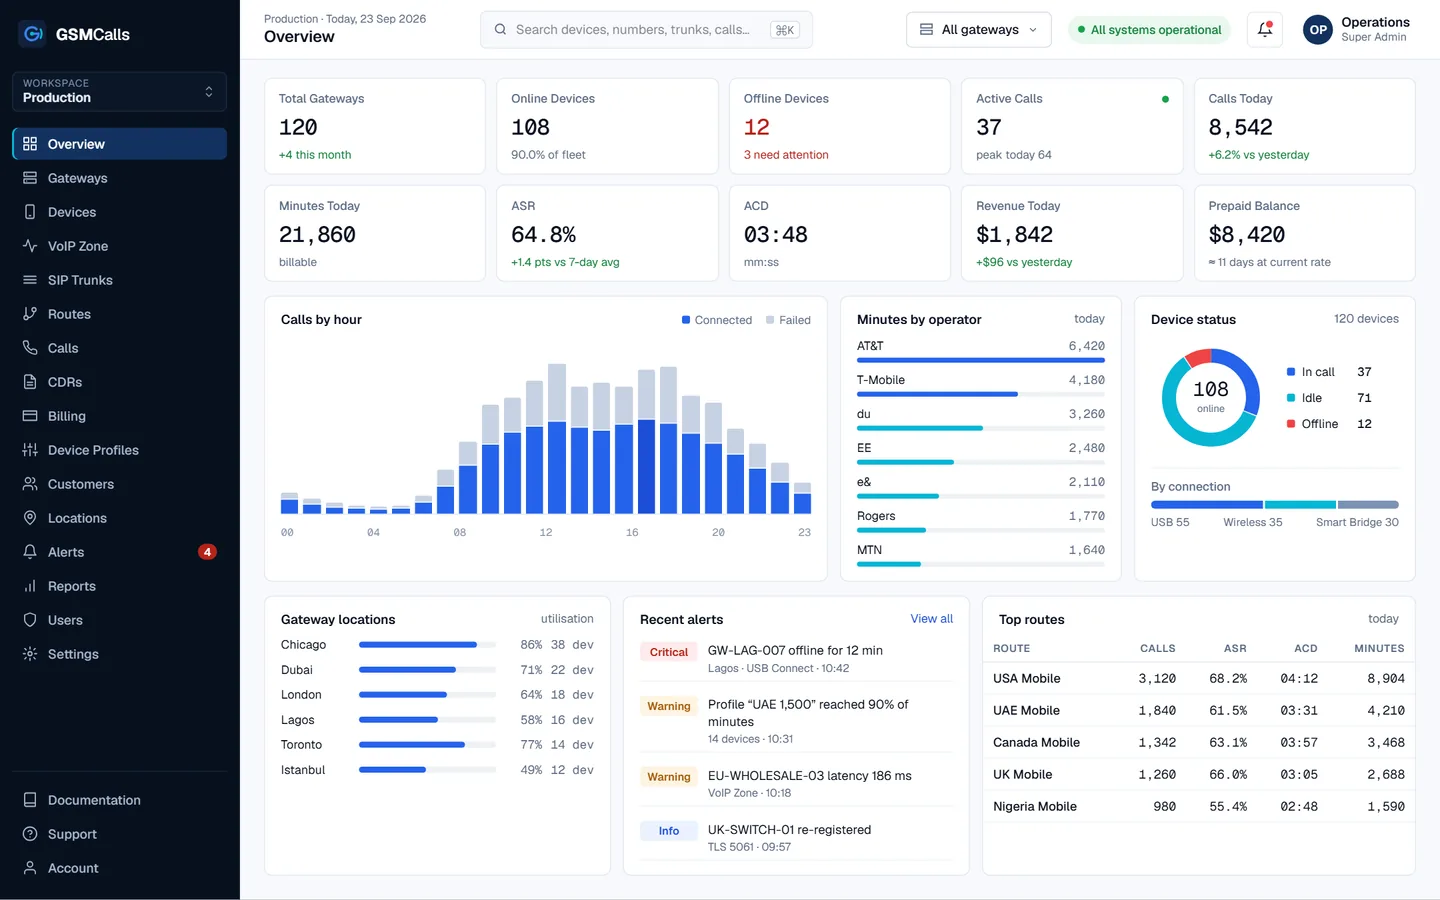
Start managing calls
Watch calls, devices, minutes and money in real time — and set the rules that keep them in check.
- Live dashboard and alerts
- Device profiles and prepaid limits
- CDRs ready to export
What you need on site
Check phone compatibility →A gateway computer (USB · Wireless)
A PC or mini PC per site for USB Connect or Wireless Connect. Smart Bridge needs no PC — just the phone, the GSMCalls app and Wi-Fi or mobile data.
Mobile phones and SIMs
Validated models with active SIMs from your carriers.
Connection hardware
A powered USB hub, Bluetooth adapters, or one Smart Bridge per phone.
A SIP platform
Your PBX, SBC, softswitch or SIP trunk provider.